Thursday, June 25, 2015

Wooden Boat Show Eve

Checking the oil and kicking the tires before heading to Mystic tomorrow.  Time to wander dreamily through the hand tool vendors, display boats and chandlers.  We'll miss a Saturday working on the deck, but there are priorities ... Speaking of the deck:


One side is now done and we're wrestling in the starboard side.  Cover boards are ripped and awaiting planing.  (The scrap of plywood over the starboard foredeck is to ward off a stubborn intermittent leak in the roof that manifests itself during some summer thunderstorms.)

Friday, May 1, 2015

And the Decking is "Proceeding According to Precedent ..."

... To quote Kipling.

What a winter! The Works were locked in a temperature-induced, productivity death grip.  I was able to continue slowly on the smokebox and boiler at work, but since that involves a commute, it is not near as handy.  Below is a shot of the foredeck.  The joggle fit and trim will be exciting to do.


The king plank and cover boards are on hand and await planing to the same thickness (0.312").  The question was raised, "So how far can you bend that teak sideways?"  On the stern deck, the curve is to a sixty (60") inch radius.  One piece protested while bending to the dry fit.  It shattered in my hand, not unlike glass.  We were impressed.

Another piece jumped the clamps - I'm not really sure how that happened - whirled through the air like a Venetian blind and landed butter-side up.  Phew!

Tuesday, January 20, 2015

"So how will that engine work anyway?"

A common question, and up until now, I had yet to find a compelling graphic aside from some video links that show marine compounds in operation.  But wonder no more ... colleague Mr Anderson sent me a link that contains a graphic of an Olympic class engine.  The White Star Line Memorial Foundation has produced this graphic:

[Throw the reverse lever over and crack the throttle ...]

Iona's engine has a high pressure and low pressure cylinder, but no intermediate cylinders.

Saturday, January 17, 2015

Some holiday work

Work has slowed a little here in the dead of winter, though tonight we are experiencing a relative heat wave of 24F (-4C) compared to recent temperatures.

Christmas was duly celebrated by all at the Works ...


Here, Quinx is deep in her cups, polishing off the last of the eggnog.

I took advantage of a relatively mild day to begin laying the decking.  The sub-deck was warmed with heat lamps to help kick the epoxy.  It responded admirably.  I was surprised about the willingness of the teak to be bent laterally through as tight a curve as a 60-inch radius.  In this shot, the clamps have been removed at the sweep of the bow.  One can see the faint marks for the following planks, where they will rest against the king plank.


Meanwhile, the heated shop at work allows for continued tack up of the smoke box:


Tuesday, December 23, 2014

An Early Christmas Gift ...

... arrived the other day.  Teak decking from Boulter Plywood.  Boulter has provided most of the wood for Iona, so this is also a plug for Chris and the gang - thank you!

The first box laid out on the horses:


Carefully opened ...


Ahh ... vertical grain quarter-sawn 1.75" x 0.5" Burmese teak.  It will be planed to a thinner dimension before setting on the sub-deck.


A morale poster also showed up in the Works.  Best Beloved is puzzling over its significance ...


Sunday, December 14, 2014

The Smokebox

The boiler was on hold for a while as I pursued other things, as seen in recent posts.  The smokebox design then finally drafted by Mr Anderson, and the laser-cut pieces arrived, demanding attention and fabrication.

Below is the incomplete furnace frame with the partial smokebox frame set in place to adjust fit.  A hydraulic press punched the box frames for the door dog bolts.  I'm tacking the pieces together by stick, later to be seal-welded with 0.023 MIG wire.  The furnace and ash frames will be fitted with protruding sealing lips, and custom doors made with the appropriate drafting devices.  To be fitting and welding again is a great joy.

And yes, the boiler is on end inside the roof sheet of a Belpaire boiler, standing on its nose. A totally unrelated railway project ...


Sunday, November 30, 2014

The Steering Gear

One of the tasks that requires completion before the hull is decked is the fitting of the steering gear.  Said gear runs the range from the practical - clothesline run through zinc-plated blocks - to the sublime - sailboat systems manufactured by Edson Marine.  I admit I appreciate well-engineered systems.  Edson had me as soon as I received their catalog.  The heavy bronze quadrants; the exquisite sheaves - what could I do?  I had to throw money at them ...

After mounting the rudder, I came up with a system of blocks to act on the rudder.  A port-side helm station was always the idea.  The problem than became how to run the cables to the sheaves and the rudder quadrant.  This first picture is the helm station, with the steering chain and cables emerging from its aft side.


A standard Edson bulkhead gear will mount on the box, with the proper fine wood and all.  The standard taper didn't fit an antique wheel I received from Greenwich, UK, so we had to take the thing apart and machine the shaft.  (I'm still not sure whether or not I'll use the brake, though it is set up for it.)  The cables then lead aft to No. Four frame, in the foreground here, where two standard four-inch idler sheaves were set up to maintain the cable's suspension around the corner.

Here's another picture of the No. Four sheave mount:


Swapping orientation of the cables was then in order, as seen above, so that the bow swings in the proper direction with the wheel.  Piercing No. Five bulkhead got me into the rudder compartment proper where I could thread the blocks which act upon the quadrant.  Here's a shot of the stern compartment with the cables under temporary tension in order to see how the whole rig works:


It was pleasing to manipulate the chain at the helm box and watch the whole thing silently swing through its paces, without slop.  After determining that things would work, I then disassembled the cabling and idlers to seal the bulkheads where they were bored and to apply the correct fasteners.  Jibes are coming about "a rig that will sail around the Horn," etc., but I don't believe I'll be using the emergency tiller any time soon.

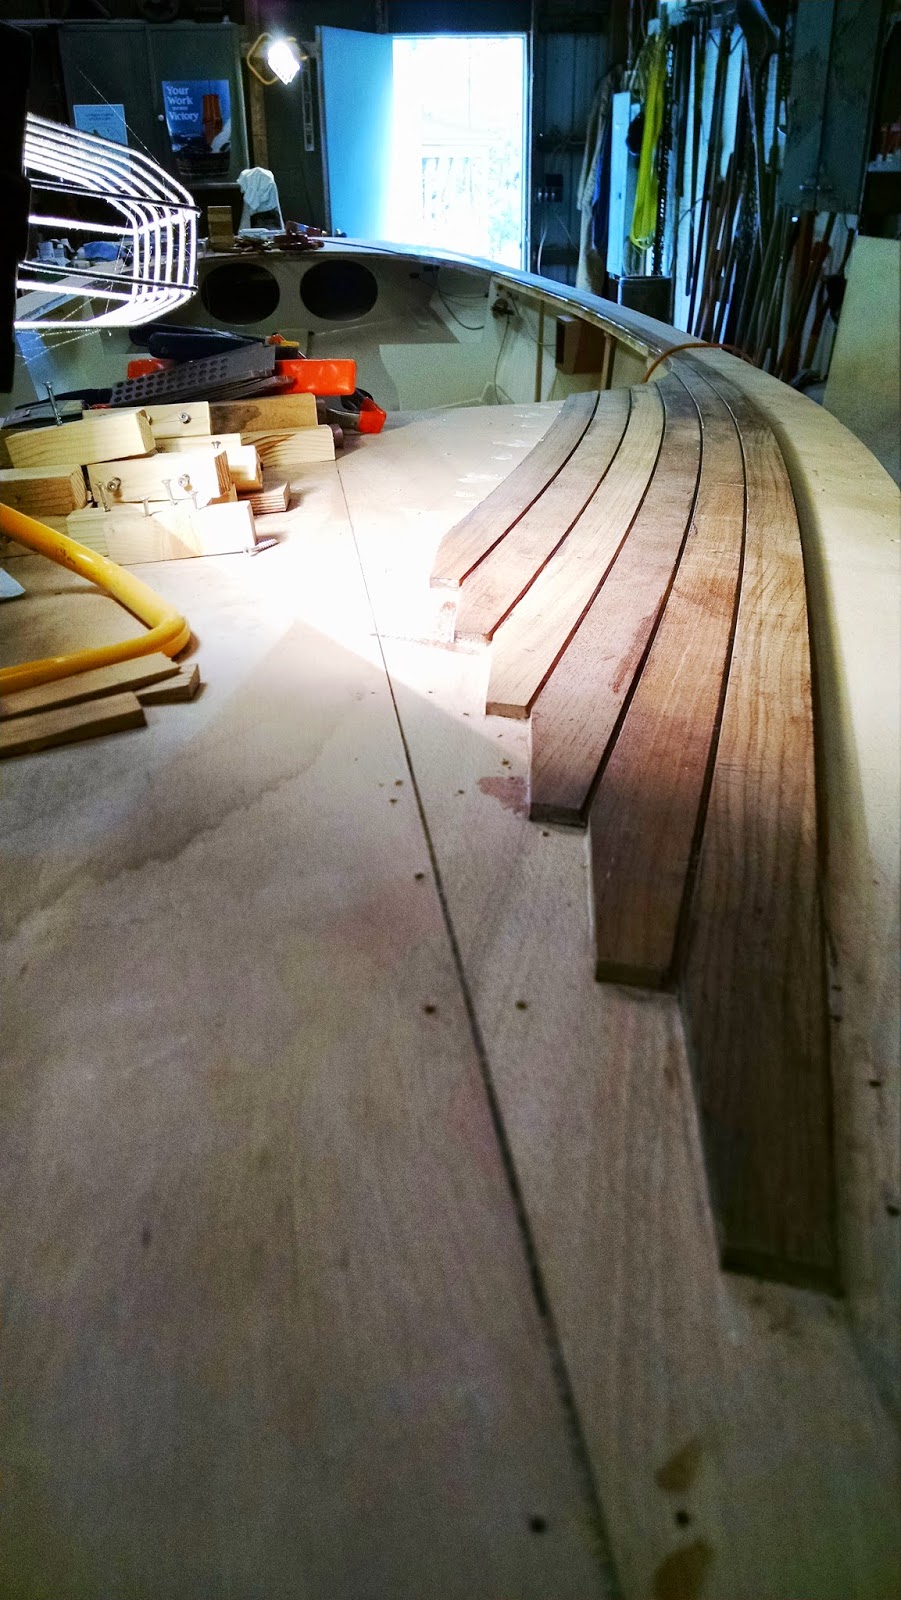
It will soon be time to finish decking ...